A Pex Crimp tool can be easy to use if you know a few of the basics about them. When you start out with the right tool for the job and know how they work, you should have no trouble installing pex pipes and doing it right the first time. Understanding the parts of a Pex crimp tool, how they work and the techniques that are best for getting a tight and secure crimp are the things that you need to know when using your tool. Here are a few simple tips to help you use your pex crimp tool like an expert.
This is the first step. Take a look at the job you need to do first. This tells you what kind of Pex crimp tool you’ll need. Starting out with the right tool is essential. Use the tool that is the right length to reach the pipes, the right size to fit in between the piping and the right clasp size to fit around the pipes. Once you’ve done this and you have the right sized tool for the job you’re ready to start.
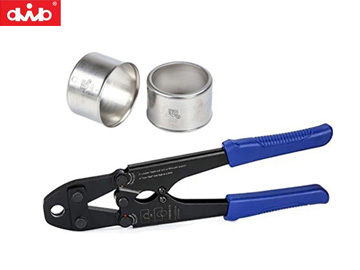
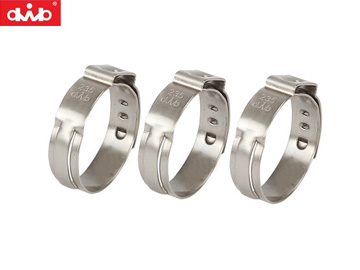
You will use the tool to crimp the copper crimp bands around your pex pipes to make a watertight seal. This means that you must apply enough pressure to the bands using the crimp tool to firmly secure the ring into place on your pipe. Be prepared to apply enough pressure to do this without damaging the bands.
Step 1:
Cut your pipe to the size that is needed. Next, slip the crimp rings over the ends of the cut pipe. Use a fitting and push the fitting into the tubing. Next, slide the crimp ring over to the edge.
Step 2:
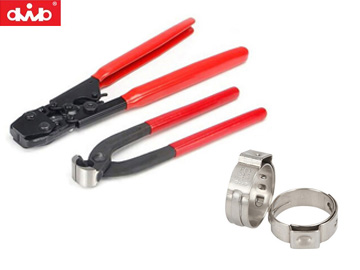
Take your Pex Crimp tool and pull the handles apart to make an opening.
Step 3:
Place the opening of the Pex crimp tool over the ring on one end of the pipe. It’s important to make sure that the tool is in the right place. It should be centered around the copper crimp ring.
Step 4:
Use the Pex crimp tool by pushing the handles together.
This will use a large amount of pressure that will force the crimp ring into place.
Step 5:
Make sure to apply enough pressure so the ring crimps down evenly and tightly to create a seal that is watertight.
A Pex crimp tool is not difficult to use if you know how to do it. It’s the only way to get the kind of seal that will hold up and prevent leaking when you’re using a Pex pipe. Some homeowners have tried to use other tools to achieve a seal, but they’ve been disappointed to find out that the pipes leak at the crimp points. There is only one way to get good results when you’re using Pex piping. You must use a Pex crimp tool. It is the only tool that is designed to apply enough pressure and force in the perfect areas to crimp the ring into the shape and place that it needs to be to prevent leaking.
Using a Pex crimp tool isn’t hard if you know the basics. It’s best to start with a simple model of this tool so it is easy to use. There is no substitute for a Pex tool when you are working with Pep piping. They are designed specifically to crimp down the Pex crimping bands. It is essential to use the right tool to protect your home from water leaks in Pex piping. Just remember to start with the right tool for the job. Start with the tool in the right place, then apply enough pressure to get a perfect seal.
This is What I Need, Contact to Customize.