Pex fittings play a vital role in gluing different structural components together. They, like any other structural component of a building, do get worn out and collapse under their own weights. To prevent injuries and further damages to the buildings, they have to be removed and replaced. We explain these steps below.
For one, the PEX fittings stand for the cross-linked polyethylene. It is basically a form of polythene that has cross-links and is extensively used in making structural joints of buildings. Being strong and truly reliable, this fitting finds extensive use in the cooling systems, hydronic radiant heating, insulation, and water piping.
Unlike the ordinary connectors in vogue at the moment, the PEX fittings are not glued. Instead, they are fixed firmly in such a way as to exude awesome structural strength and support. For this reason, the fittings last much longer than your normal ones.
The following materials are largely used for PEX fittings:
At its core is the high-density polyethylene (HDPE). This is the one that forms the base upon which other parts and material supports are attached. The HDPE is super strong and firm enough to be able to supply you with the support and vitality you need to do your bidding.
A polymer structure comes in next. This structure mainly arises as a result of the cross-links that intermingle the constituent material components. Thanks to this Polymer structure, the PEX fittings gain the strength and vitality they need to remain firm and resilient all the while.
To make the fitting even stronger, the thermoset plastic is extensively used. This plastic is harder and subsequently more resilient than the common materials that are employed to make such fittings. It is this one that grants the fittings the strength to bear excessively higher weights.
Cross-linking is not a material per se. Instead, it is a way in which the constituent parts and materials are joined together to form the overall fitting structure. This form of joining materials is well-known to result in stable and tough structures that are less likely to collapse under their own weights.
As noted earlier, the PEX fittings do outlive their usefulness from time to time. If and when that happens, you no doubt have to remove them. There are two main ways in which you can achieve this end. These are with or using a tool and without or by not using a tool. We explain them here below:
Follow these steps to accomplish that task:
Kickstart this exercise by removing the adhesives or the fittings. You do this purely using your own hands as opposed to any tool. Simply turn the joint in an anti-clockwise direction to be able to loosen the joint. If an adhesive is used, peel it off yet again using the bare hands.
Having removed the adhesives, the time has now come for you to pull out the PEX materials. Use your hands to pull the materials from where the same has been attached. Be slow and gentle here to prevent any injuries and pains from arising when in the course of doing that.
Round it up by disconnecting the materials that make the structure up. Take great care that you do not pose any permanent damages to the materials while in the course of tackling this. You also want to see to it that you assemble all the constituent parts firmly to prevent the same from getting lost.
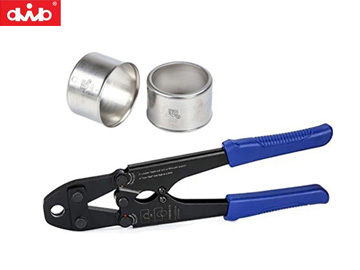
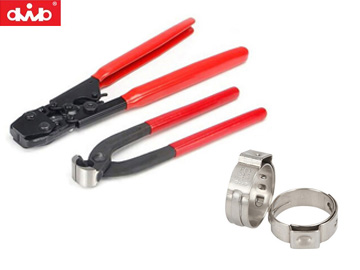
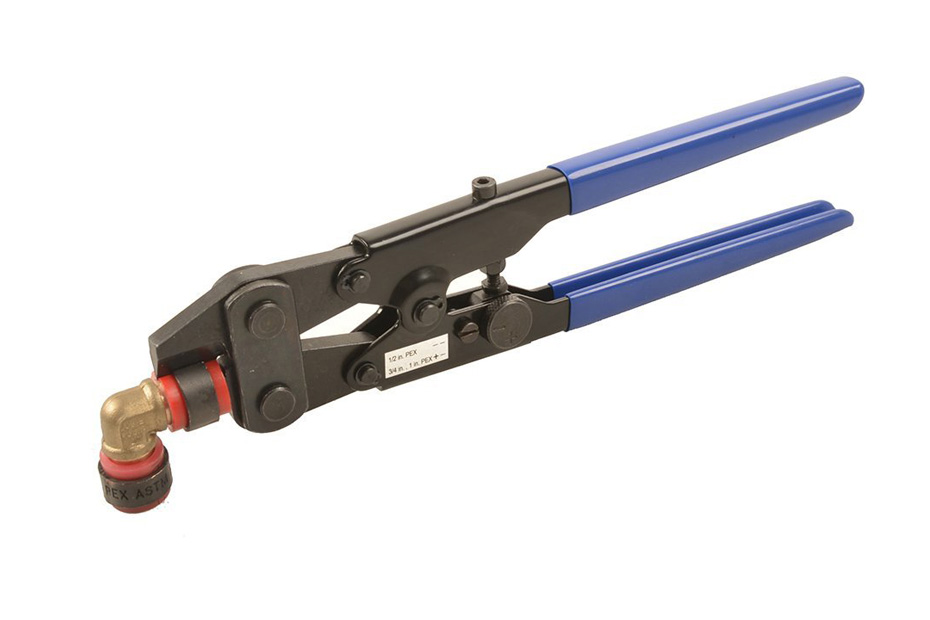
Even though you may eliminate the fittings without the tools, you are highly advised to make use of the tools. This approach is safer and more convenient than the use of the bare hands.
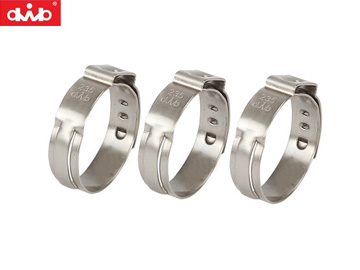
Start off the exercise by cutting and removing the crimp ring. Use a hacksaw to attain this job under normal circumstances. The Dremel will come in handy if yours is a cramped up space. While at it, take great care that you cut not the brass barb fitting.
Now proceed to cut the ring at an angle that is perpendicular to the pipe. To do this, use a flathead screwdriver. Place it in between the cut and then twist it to open the crimp ring. Use a set of pliers to bend and remove the crimp ring. Alternatively, slide the crimp ring off the pipe in case the pipe’s end is unconnected to any other part.
Round up the exercise by heating and removing the PEX pipe. Heating is necessary as it loosens the barns on the PEX fittings. Heat the barns slowly to prevent overheating and the dangers of permanent damages that potentially come along. Wait for the PEX pipe to cool before finally ejecting it from its place.
Being a strenuous exercise, the task of removing the PEX fitting is not one that you may embark on recklessly. Instead, you want to exercise great care by seeing to it that you follow the steps involved in the latter. If in doubt, we urge you to delegate the duty to a bona fide and highly qualified technician.
Obviously, you are not the only one who is in need of this vital piece of information. There are many others around you who equally need it badly. How about you defer the matter to them as well? Please share this article with these persons who are around you!
This is What I Need, Contact to Customize.